How to use Tailwind Create to plan your social media posts
Some links in this post are affiliate links, which means I earn a small commission if you book through them, at no extra cost to you. This support helps keep this site running, the suitcase wheels spinning, and lets me keep writing ultra-detailed travel guides that are free for you to use to plan your next adventure.
This blog post contains affiliate links, so if you sign up through my link I’ll receive a small commission at no extra cost to you. I was compensated to write this post but as always all opinions are my own and are based on my own experience.
When I first started blogging I thought that pressing publish on a new post was the end of that task, before moving on to writing the next blog on my list. Oh, how wrong I was!
I’d go as far to say that the majority of the work for me happens after publishing the blog post. The travel part beforehand is always fun, and writing comes pretty naturally to me so I can smash out a few thousand words like that *snaps fingers*, but pulling together a cross-channel promotional plan to actually ensure my content is being read is where my motivation lacks.
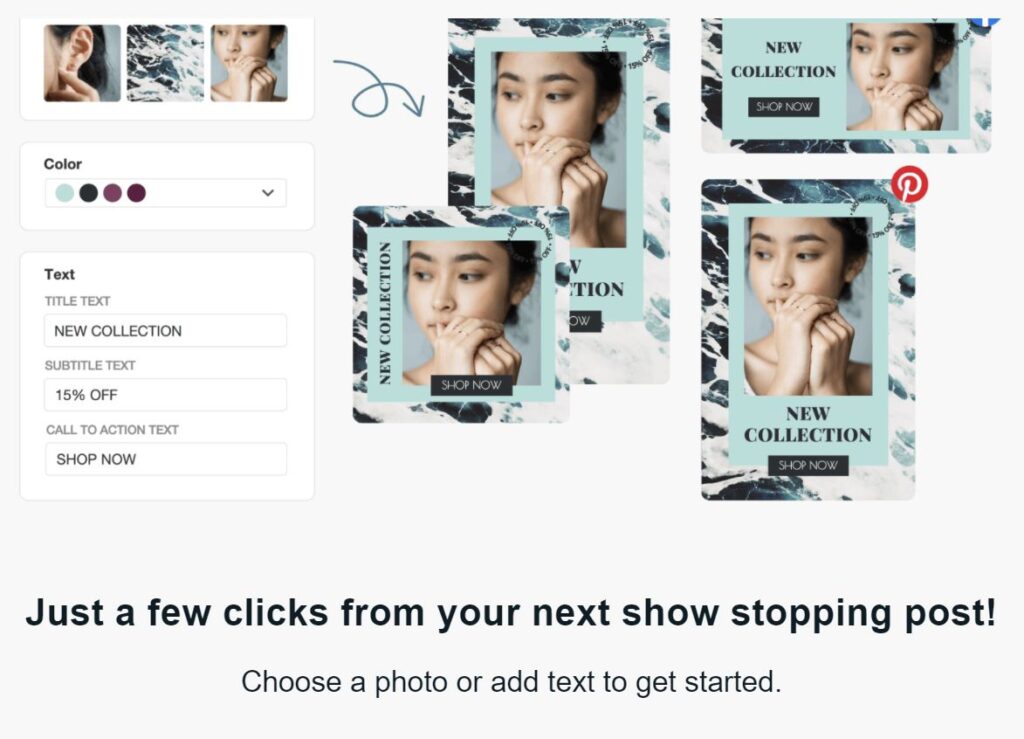
Enter: Tailwind Create! This brilliant new tool from the legends at Tailwind (famous for Pinterest scheduling) is a total game changer in terms of promoting your blog post on Pinterest, Instagram and Facebook. And better yet, it requires minimal time, no graphic design skills and no need to pay for multiple different platforms.
But before we dive in to the benefits of Tailwind Create, let’s talk about why and how we can use social media to drive traffic to our blogs.
Why you should use social media to promote your blog posts
Once a blog post is live on the world wide web, there are two main ways people will find it. Firstly, through Google searches, which requires a strong SEO strategy and a little bit of luck. And if the Google Gods aren’t on your side for a particular search term, the next best way to reach your target audience is to use social media channels to spark interest and drive clicks to your new content.
What social media channels should you use to promote blog posts
The three most popular social media channels to drive traffic to your blog content are Pinterest*, Facebook and Instagram.
Pinterest has an asterisk here because while it’s commonly lumped into lists of social media channels, it actually functions more like a search engine, where people search specific queries and relevant pins are shown to them to give them the answer to what they’re looking for.
But to keep this blog clear and simple, when I talk about social media in this instance, I mean the trio of Pinterest + Facebook + Instagram.

How can we drive traffic to our blog from social media platforms
There are a number of different ways to drive blog traffic from each social media platform.
For Pinterest, the key steps to driving organic traffic are:
- Create Pins with optimised titles and descriptions with relevant keywords, so that your Pin shows up high in the feed when a user does a search
- Ensure that your Pin is eye-catching and on brand so it grabs the attention of the user and encourages them to click through to your blog post
On Instagram, there’s no link functionality in posts yet so the two ways to drive direct traffic are through story swipe up links (requires 10,000+ followers) or including a link in your bio, with a call-to-action on a post or a story to direct people to that link.
For Facebook, your posts are mostly only going to reach people in your audience or the friends of people who have engaged with your post, so it’s important to create something that catches the attention of people scrolling through their feed and encourages them to engage with the post.
You can also create paid ads on all three platforms, either by setting up a brand new ad to promote or to ‘boost’ existing content to reach more people.
What is Tailwind Create?
Tailwind Create is a one-stop-shop to create high quality pins, posts and stories using your existing blog imagery, brand colours, selected fonts and logo.
Why use Tailwind Create?
If you know me personally you’ll know that I’m all about life optimisation, and I’m a sucker for finding things that save time. Time is money, after all!
Tailwind Create reduces the time I take to create all my promotional imagery for a blog massively, not to mention being able to avoid uploading the same images over and over again to different tools like Canva, Photoshop and Instagram.
With just a few clicks I can create a selection of different layouts using the images in my blog, fonts I’ve selected and a colour scheme I’ve chosen (either custom or choose from one of the many options), and from there I can choose the ones I like best, download it, and/or schedule it straight from Tailwind. Too easy.
Pinterest favours new Pins which is great because it keeps the content fresh, however for a small creator who is running an entire business solo, the constant need to refresh content can be exhausting and time-consuming. With Tailwind Create, us time-poor bloggers can schedule a bunch of attention-grabbing Pins without having to reinvent the wheel every time.
And the new optimisation for Instagram Stories, Instagram feed posts and Facebook posts means that we can keep our promotional content looking professional and on brand across multiple channels.
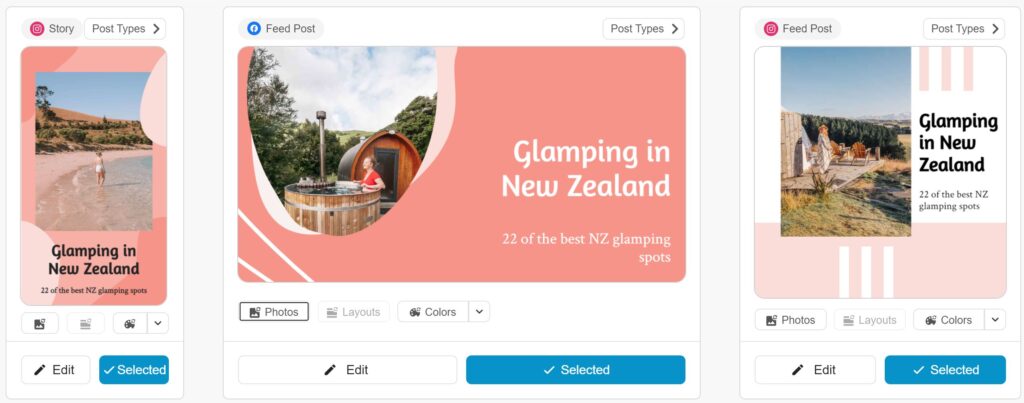
How to use Tailwind Create to create content for Pinterest, Facebook and Instagram: A step-by-step guide
1. Create a Tailwind account right here. I’m on the Pro Plus plan which starts at $14.99USD per month and gives me the ability to schedule 100 of my own posts per month + 200 posts using Tailwind Create. If you’re keen to try Tailwind before purchasing a subscription, check out their new Free Forever plan, which gives you 20 posts + 20 Tailwind Create posts.
2. Click the paintbrush icon in the left-hand menu to go to Tailwind Create

3. If this is your first time on this page, you should see the option to set up your brand kit. If you don’t, just select “Brand Settings” in the Tailwind Create menu. This is where you will add your website, select your fonts, choose your brand colour palette and upload your logo.

4. Hit “Design Gallery” in the menu to start creating your designs. You can choose to upload photos, select stock photos or just pop in a URL of a webpage/blog and Tailwind Create will magically pull the images from that page to create pins and posts.

5. Select which images you want to use and your new designs will populate the screen!
6. Customise all pins at once by changing the text, fonts, colours and logo using the left-hand dropdowns

7. Use the “Post Types” dropdown in the top menu to switch the designs to Instagram Stories, feed posts or Facebook feed posts

8. Use the “Photo Count” dropdown to select however many photos you want on your designs
9. Use the “Categories” dropdown to see designs relating to specific themes like the type of blog post, seasonal content and industry
10. If you like a design but you want to fine-tune it, you can use the buttons directly below the image to shuffle the photos, layout or colours
11. For further editing you can click “Edit” and you’ll be taken to a new screen with more editing tools, like adding a subtitle, a CTA or icons
12. Once you’ve nailed the pins or posts you want to use, make sure they’re selected and click the blue “Review Designs” button at the bottom of the page. From this screen you can choose to download the posts or you can schedule them directly through Tailwind!

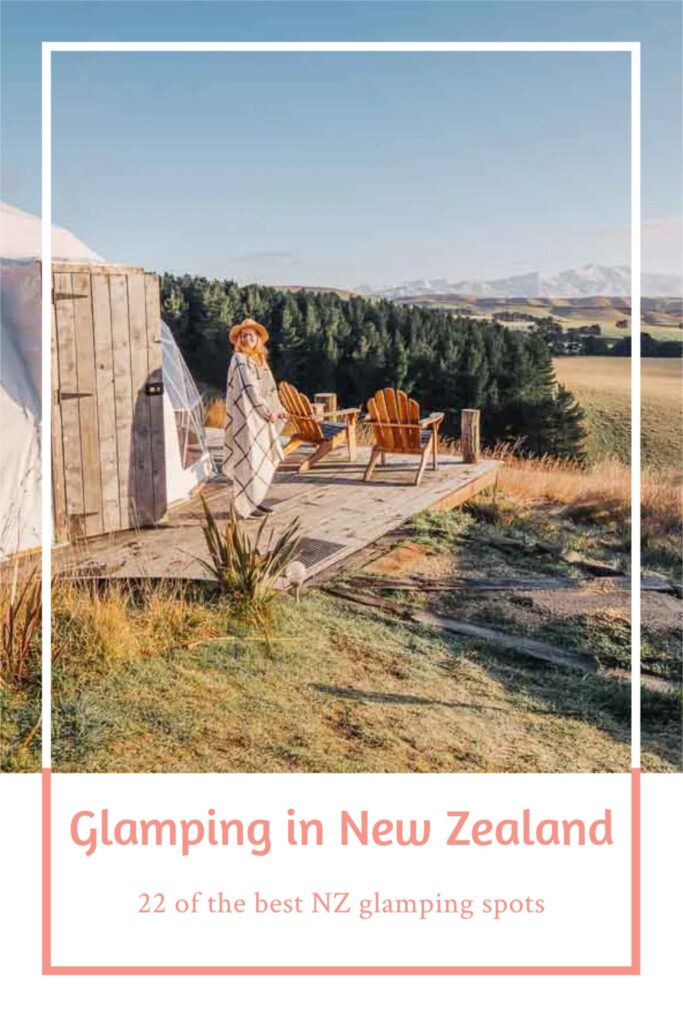
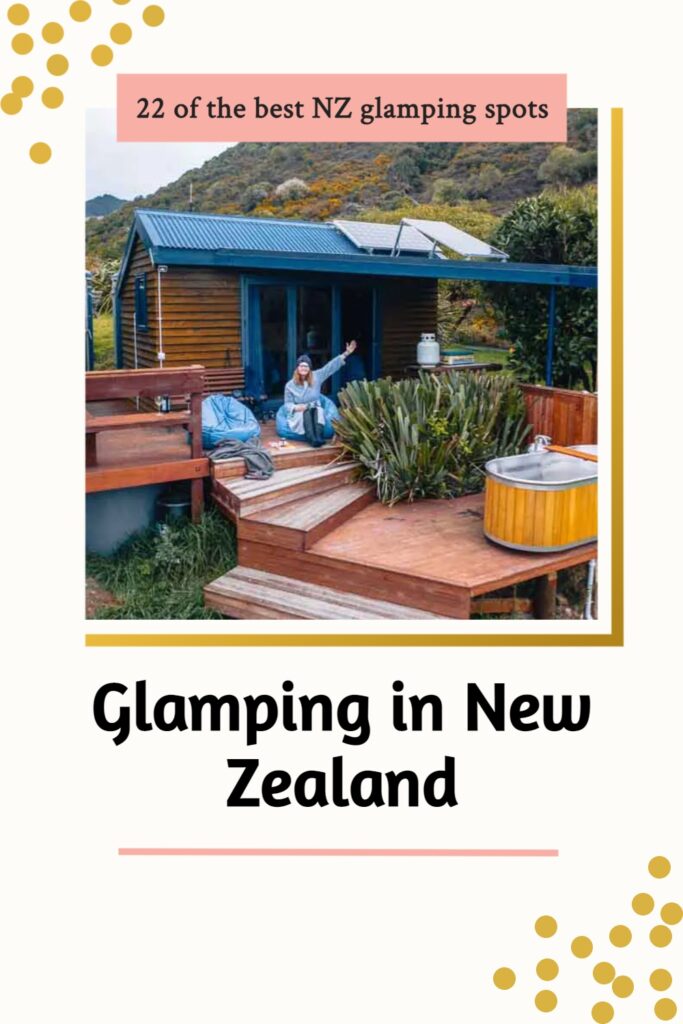
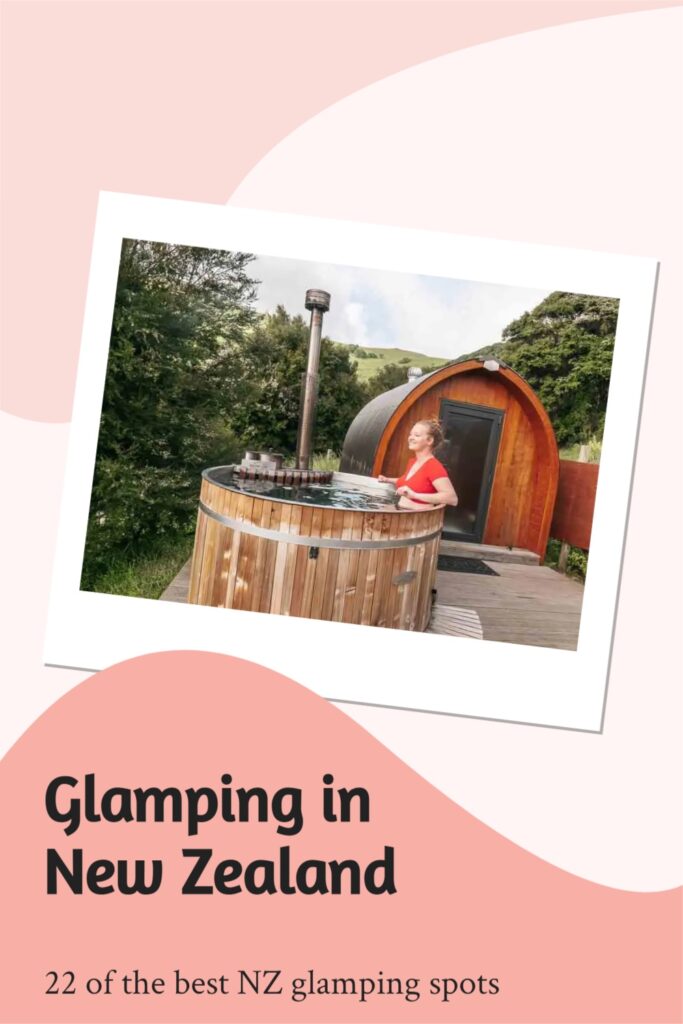
Is that easy or what?! Don’t waste time using multiple different platforms to promote your blog posts, use Tailwind Create to streamline your Pin + post creation and get it all sorted in just a few clicks.
