Kia ora, I'm Alexx!
I'm a Kiwi blogger, photographer and solo female traveller, and I'm here to help you bring your travel dreams to life.
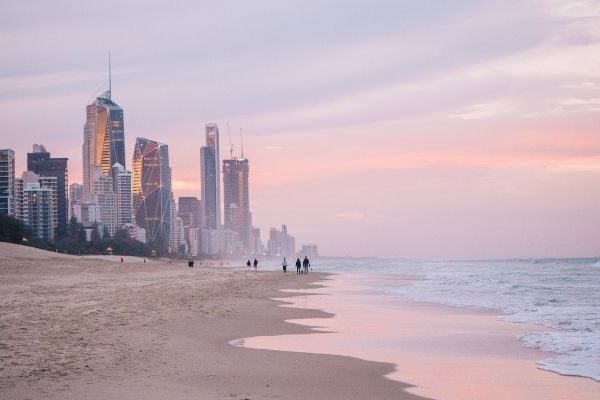
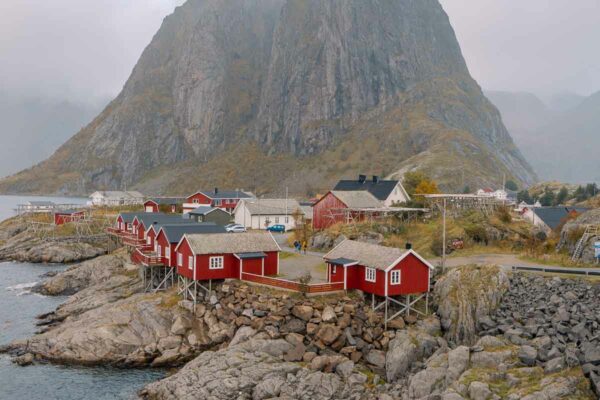
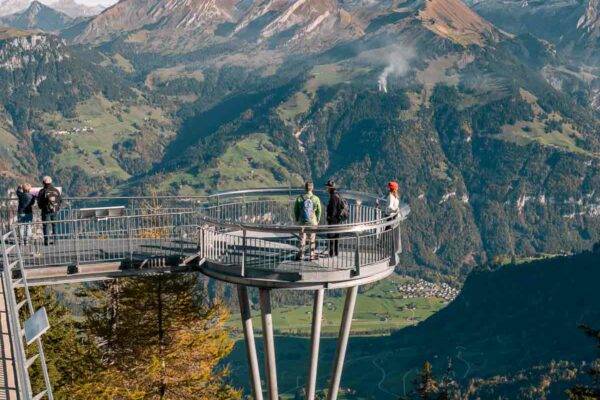
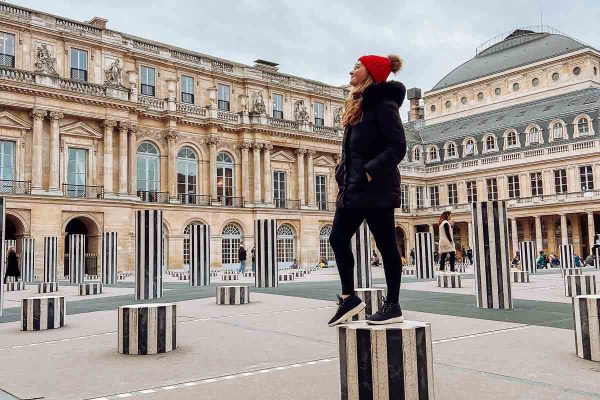
My travels have taken me to 57 countries in the past ten years, some on university exchanges & working holiday visas, some while working my 9-5 in the travel industry, and some while travelling full-time as a digital nomad, creating content for travel brands all around the world.
Here at Finding Alexx I share all the adventures (and misadventures) that come with full-time solo travel, honest reviews of the places I've visited, and actionable travel tips that will actually help you plan your own unforgettable trip, whether you're pinching pennies on a backpacker budget or ready to splurge for the trip of a lifetime.
So if you're looking for epic places to stay, things to do and experiences to have, and if you want to learn how to make the most of your time and money, you're in the right place.
Read my story